How to set up your VPN
Telegram has been blocked, free proxies and VPNs work intermittently due to a large influx of users or stop functioning altogether without explanation, like.
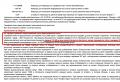
Paid tools can also disappear at any time: the law banning anonymizers and VPNs has long been adopted, but not yet applied. In this situation, the only guarantee of freedom on the Internet is your own VPN. Lifehacker will tell you how to set it up in 20 minutes.
Choosing hosting
To set up a VPN, you need a VPS - a virtual private server. You can choose any hosting provider, as long as the following conditions are met:
- The server is located in a country that does not fall under the jurisdiction of the Russian authorities, but is close enough to your real location.
- Random access memory (RAM) must be at least 512 MB.
- Network interface speed - 100 MB/s and higher.
- Network traffic - 512 GB and above or unlimited.
The amount of allocated hard disk space and the type of drive does not matter. You can find a suitable solution for 3-4 dollars a month.
When buying a server, choose KVM. OpenVZ and Xen are also suitable if they have TUN connected - you need to ask the technical service of the hosting provider about this.
With KVM, no additional manipulations will have to be done, although some hosting providers may limit the ability to create a VPN on it. You can also check this with the support team.
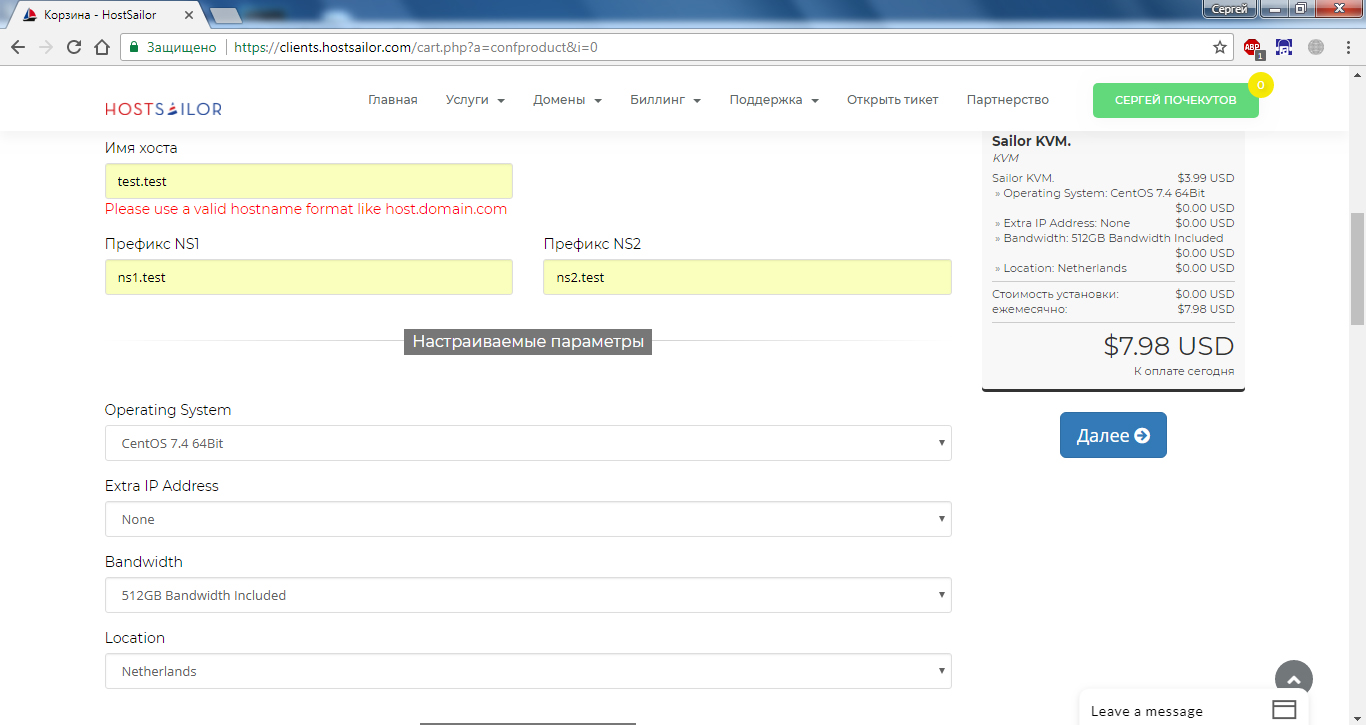
When setting up the server, in the “Host name” item, you can enter any value: for example, test.test. The prefixes NS1 and NS2 are also not important: we write ns1.test And ns2.test.
Operating system - CentOS 7.4 64 bit or any other distribution, there are no fundamental differences in the settings. Leave the network traffic at 512 GB or choose an additional amount if you are afraid that the existing one will not be enough. Location - the closer the better. The Netherlands will do.
After payment, you will receive an email with all the necessary data to set up a VPN. You have purchased a place on a server in another country, it remains to redirect all traffic to it.
Setting up a VPN
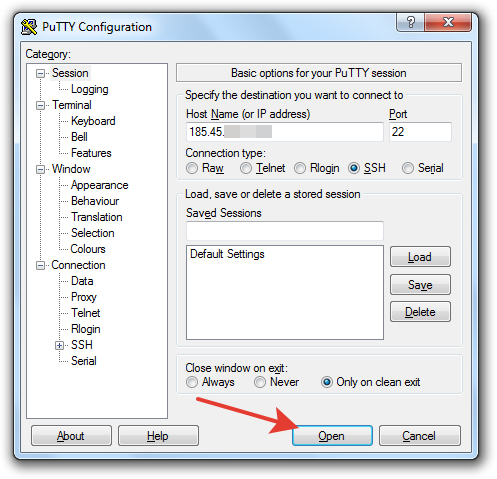
To connect to the server and send commands, we will use the Putty program. I received a link to it in a letter with registration data for hosting. You can download the program. Putty and its analogues are also available on macOS, the settings will be identical.
Start Putty. On the Session tab, in the Host Name field, enter the IP address that came in the letter and click Open.
If a warning window appears, click Yes. After that, the console will start, through which you will send commands to the server. First you need to log in - authorization data is also in the letter from the hoster. Login will be root, print it by hand. Copy the password to the clipboard. To paste the password into the console, right-click and press Enter. The password will not be displayed in the console, but if you are logged in, you will see information about the system or server number.
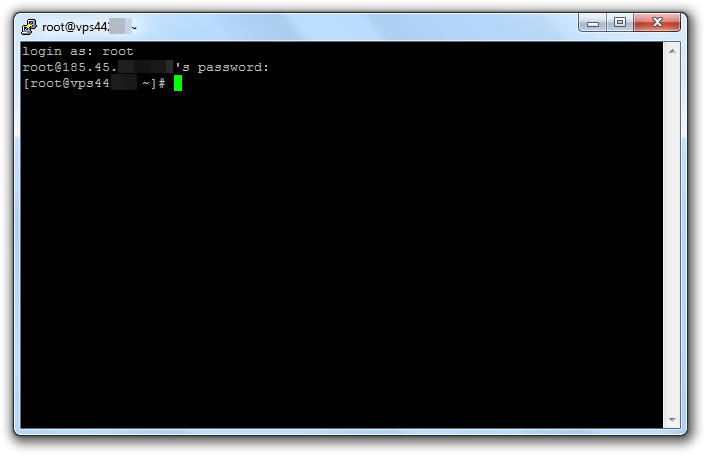
There should not be much time between entering the login and password. If an error message appears, restart Putty and try again.
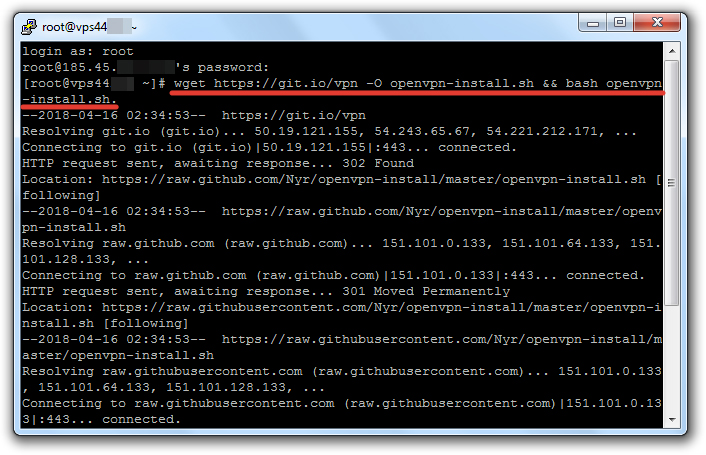
To set up the VPN, I used the ready-made OpenVPN road warrior script. This method does not guarantee complete anonymity, so when committing illegal actions, the user is easy to find. But it is enough to bypass the blocking. If all VPN services stop working, this connection will continue to function as long as I pay for hosting.
To use the script, paste the line wget https://git.io/vpn -O openvpn-install.sh && bash openvpn-install.sh into the console.
After successfully adding the script, a dialog with the setup wizard will start. He independently finds the optimal values, you just have to agree or choose the appropriate option. All actions are confirmed by pressing the Enter key. Let's go in order:
- The IP address must match the IP address you received in the letter from the host.
- Leave the default protocol UDP.
- Port:1194 - agree.
- Which DNS to use - select Google. Erase 1 , write 3 and press Enter.
- Client name - enter the username. Can be left client.
- Press any key - press Enter again and wait for the settings to complete.
After completing the configuration, you need to create a file through which you will connect to the VPN. Enter the command cat ~/client.ovpn .
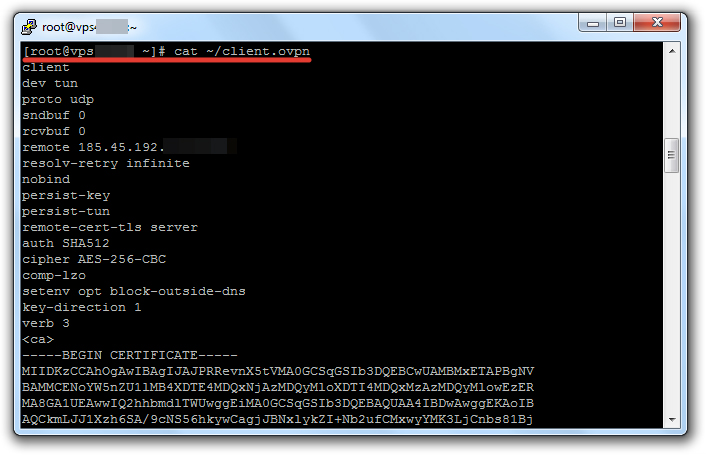
The contents of the file will appear in the console. Scroll up to the cat ~/client.ovpn command and select everything below except the last line. The selection must end with. To copy a fragment, press Ctrl + V.
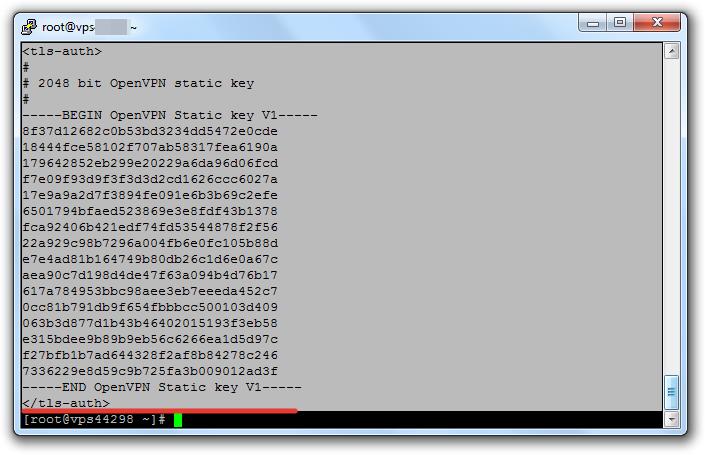
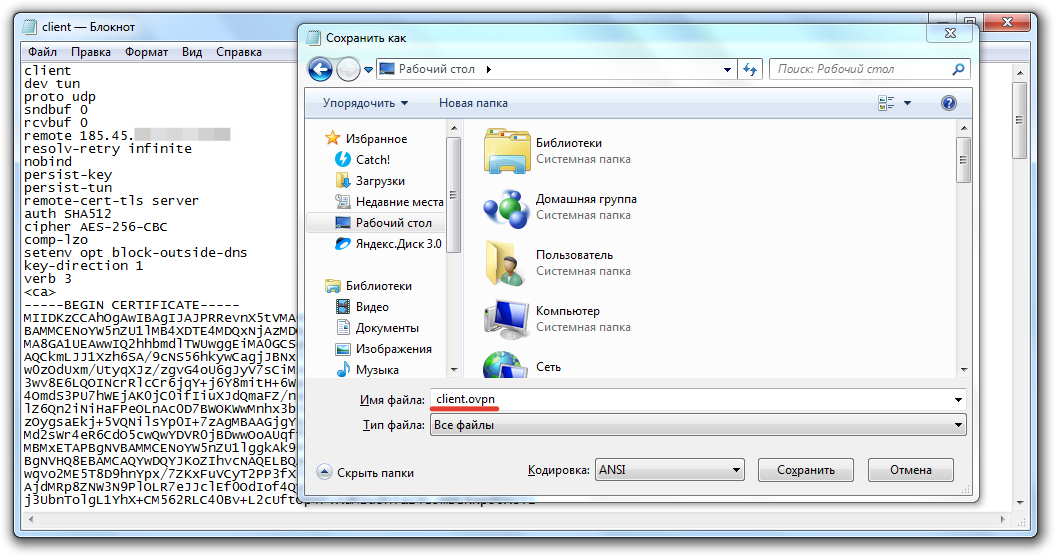
Launch Notepad, paste the copied snippet and save the file on your desktop with the name client.ovpn.
Connecting to the server
To connect using the generated file, you need an OpenVPN client. The PC version can be downloaded. Download and install the program, but don't run it. Right click on the file client.ovpn and select Start OpenVPN.
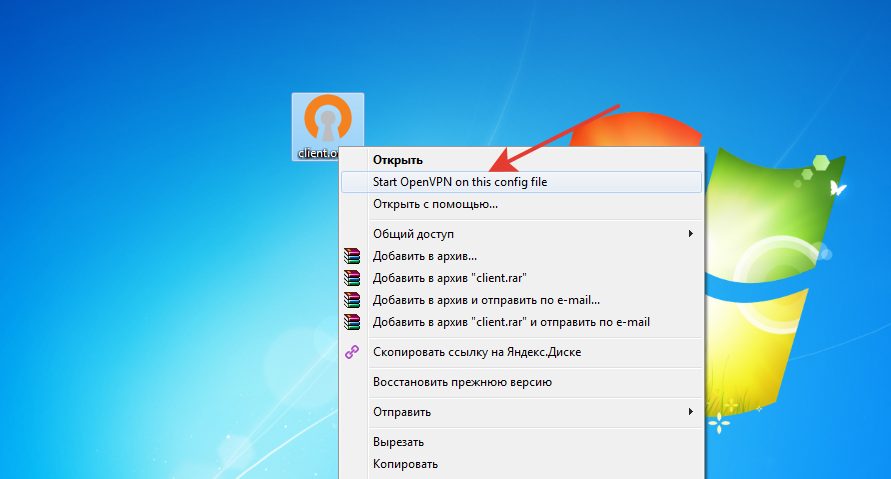
A console window will appear with the connection initialized. If the connection was successful, the status below will be Initialization Sequence Completed . During the connection process, a network selection window may appear, click on the public network.
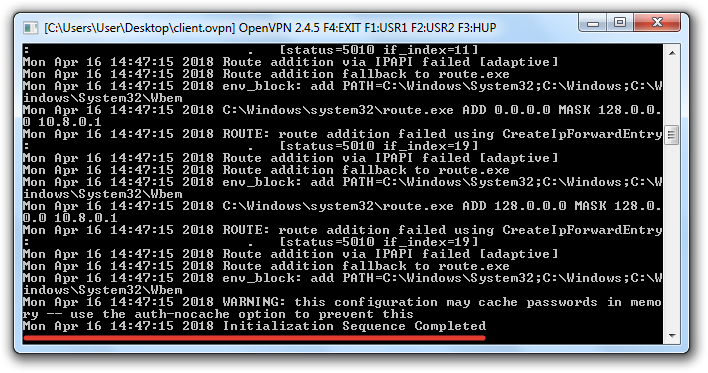
To make sure the connection is correct, . It must match the one that the host wrote in the letter. To stop sending requests to a server in another country, close the OpenVPN window.
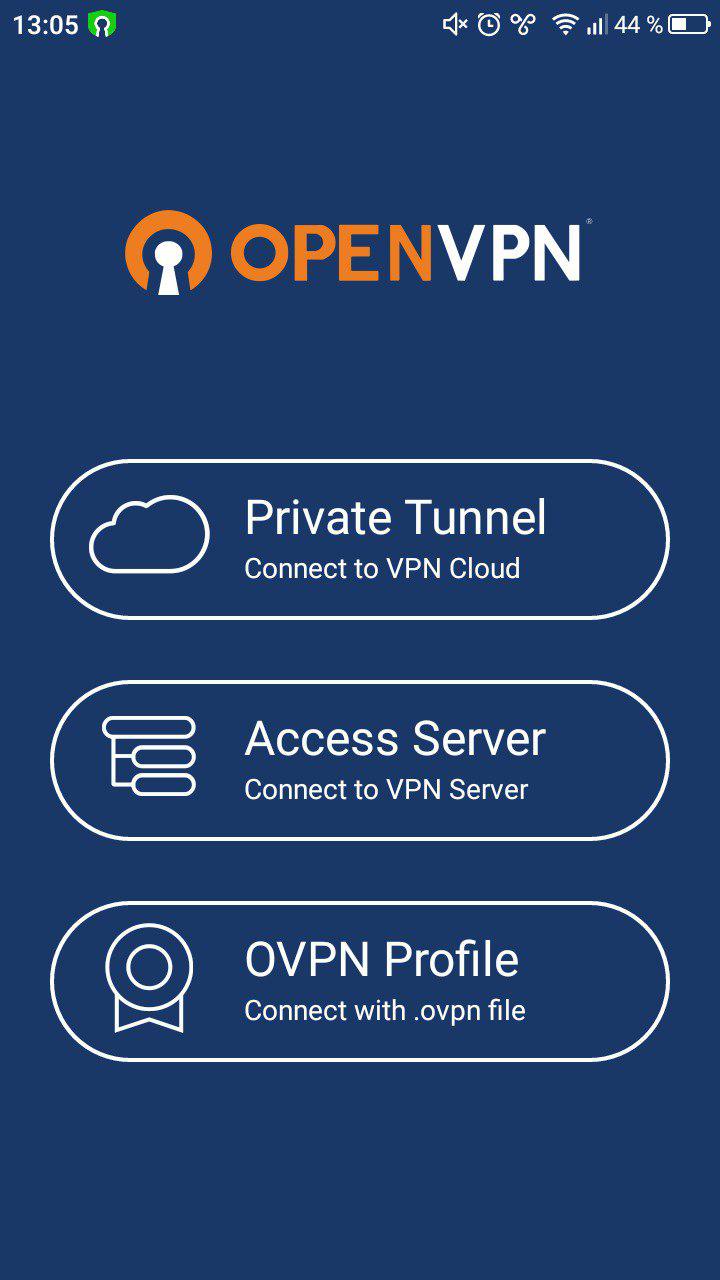
OpenVPN also has clients for mobile devices.
To establish a connection, transfer the file to the phone's memory client.ovpn. Launch the application and select OVPN Profile. Specify the path to the file and move the slider to the "Enabled" position.
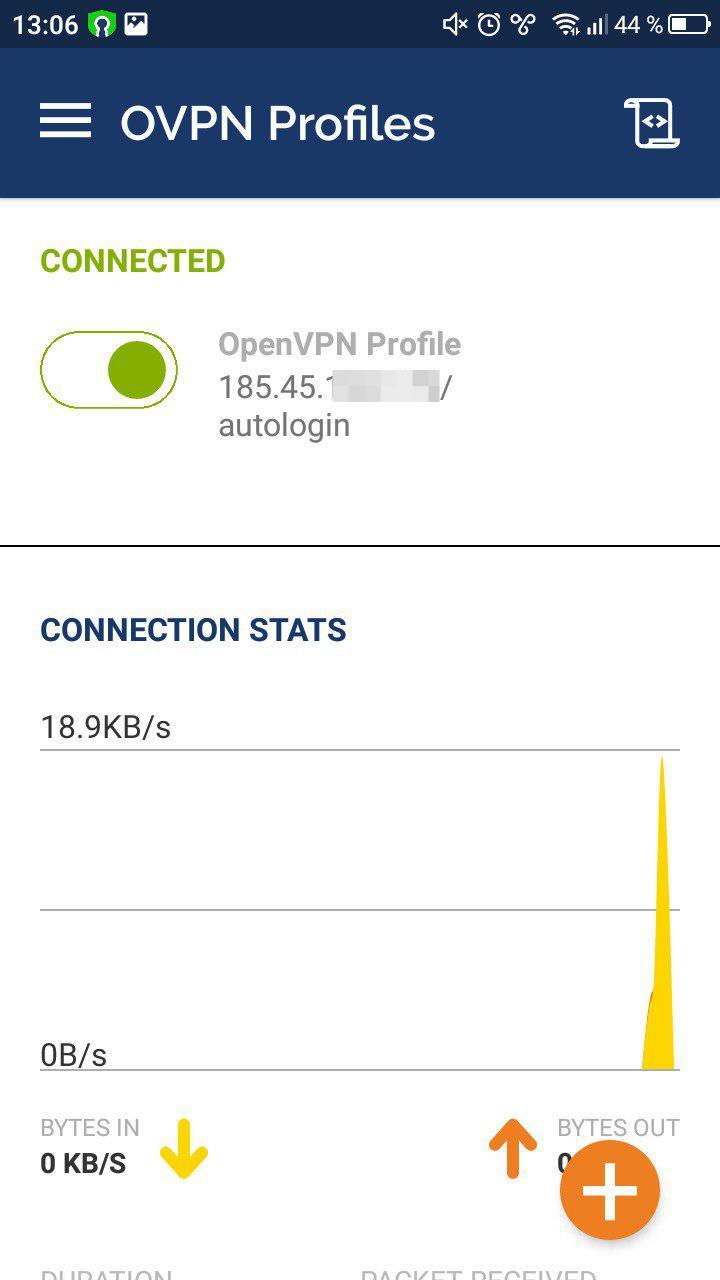
A VPN connection icon will appear at the top. To verify that traffic is being redirected through a server in another country, open any IP address verification service in a mobile browser.
Related posts:
 How to clear the browser on android
 How to connect an Xbox 360 or One controller to a computer
 How to install Tor browser on a computer?
 MTS Unlimited - wean from greed: paid distribution of wifi - bypass
 Programs for watching TV over the Internet: the best applications for stationary and mobile systems


