Connect to Windows desktop via VPN connection
This article discusses setting up a client computer running Windows 7 from which a connection to a Windows remote desktop should be established. The settings of the server and the computer to which the connection will be established are not discussed here.
Creating a new VPN connection
1. Open the “Network and Sharing Center”, to do this, right-click on the connection icon in the system tray and select the “Network and Sharing Center” menu item. You can also open Network and Sharing Center through Control Panel.
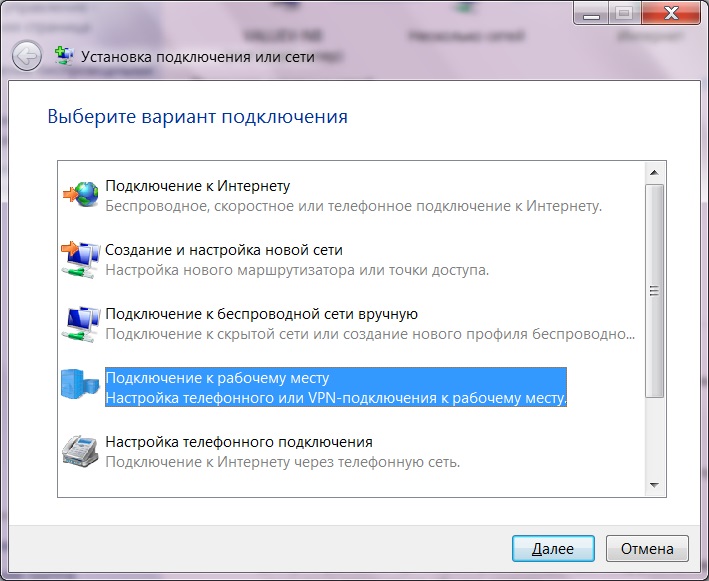
3. Select “Connect to your workplace. Setting up a telephone or VPN connection to your workplace" and click "Next".
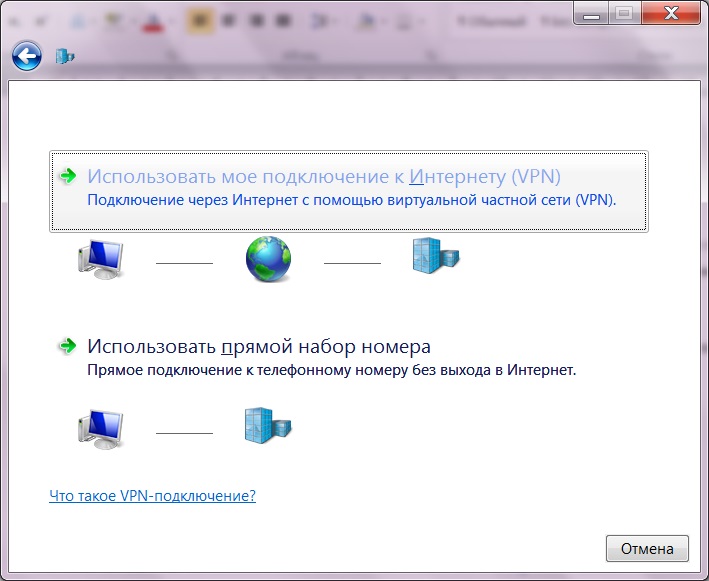
4. Select “Use my Internet connection (VPN).”
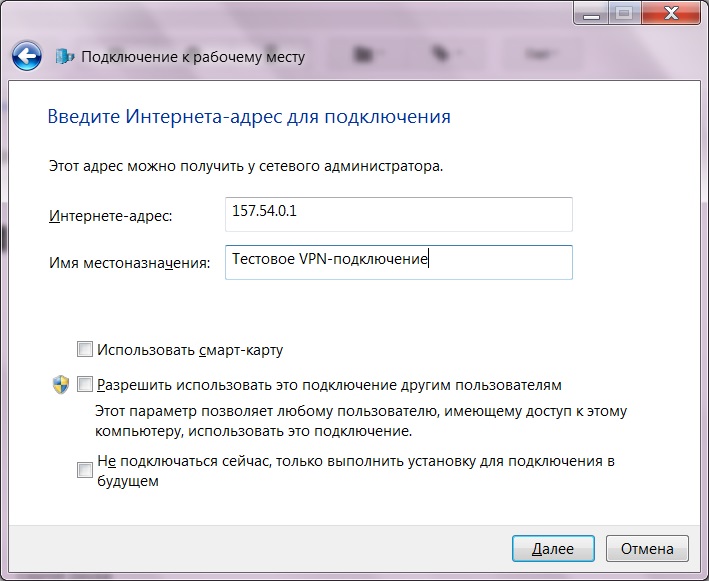
5. Enter the Internet Address and Destination Name and click Next.
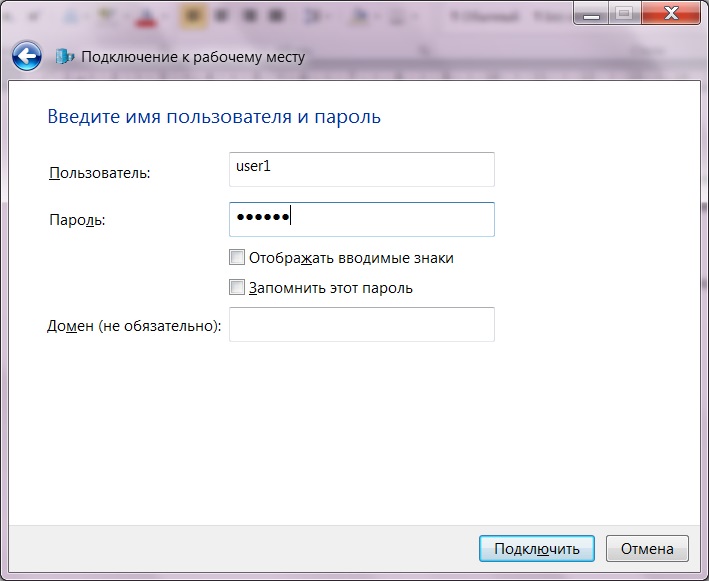
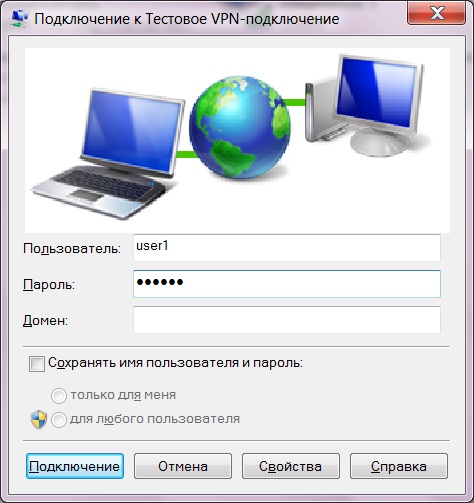
6. Fill in the “User” and “Password” fields and click “Connect”.
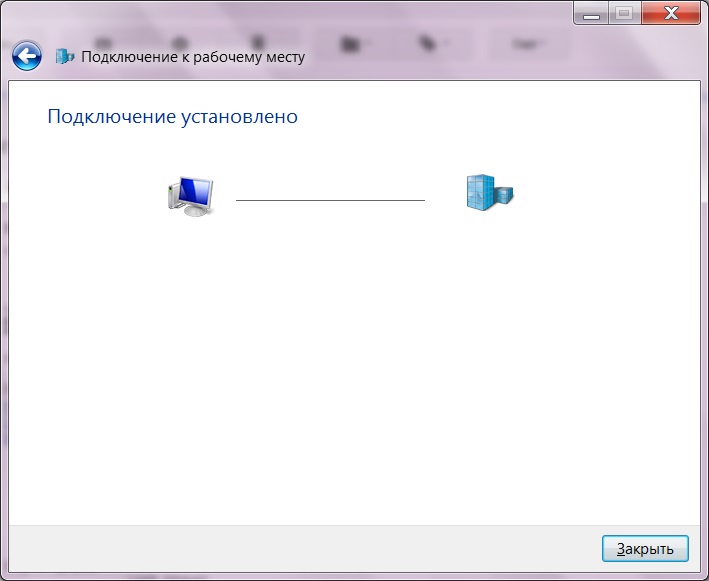
7. After connecting, click “Close”.
To ensure that the connected network is not the main one, you need to perform the following steps
8. Open Network and Sharing Center.
9. Click on the “Change adapter settings” link (on the left).

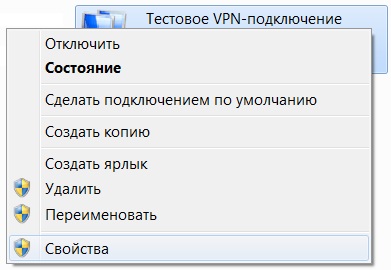
10. Find the created connection, right-click on it and select the “Properties” menu item.
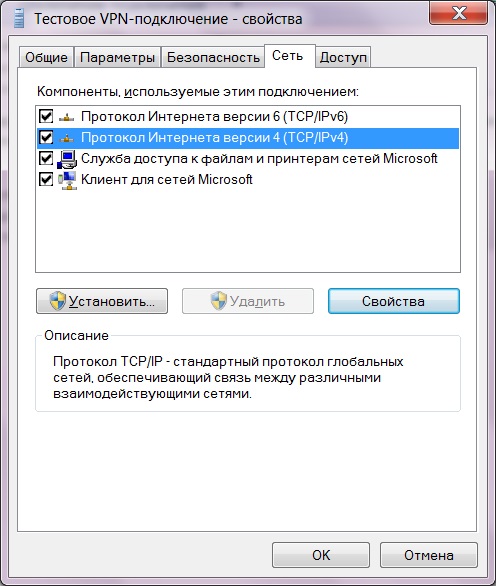
11. On the Network tab, select Internet Protocol Version 4 (TCP/IPv4) and click Properties.
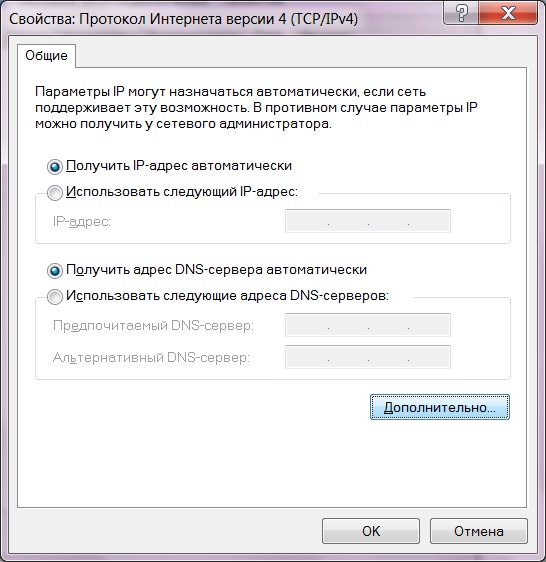
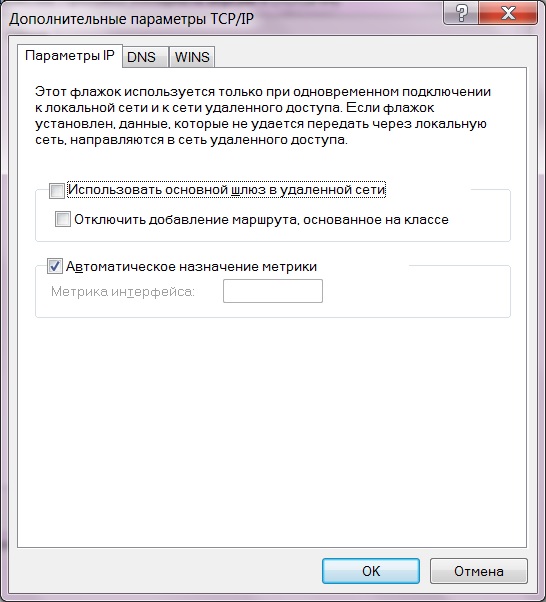
12. In the “Properties” window that opens. Internet Protocol Version 4 (TCP/IPv4)” click on the “Advanced” button.
13. In the “Advanced TCP/IP Settings” window that opens, uncheck the “Use default gateway on the remote network” checkbox.
14. Close all windows by clicking on the “OK” buttons. This will display a warning that some changes will take effect after reconnecting.

15. For the changes to take effect, in the window opened in step 10, find your connection, right-click and select the “Disconnect” menu item.

16. After disconnecting, right-click on your connection and select “Connect”. When prompted for a password, fill out the User and Password fields and click Connect.
Remote Desktop Connection
17. Establish a VPN connection as described in step 16.
18. Launch the Remote Desktop Connection program. Usually the shortcut is located in the “Start -> All Programs -> Accessories -> Remote Desktop Connection” menu. Or you can start writing the text “Connect to a remote desktop” and the program will be found.
19. In the “Remote Desktop Connection” window that appears, enter the IP address or computer name and click “Connect”.

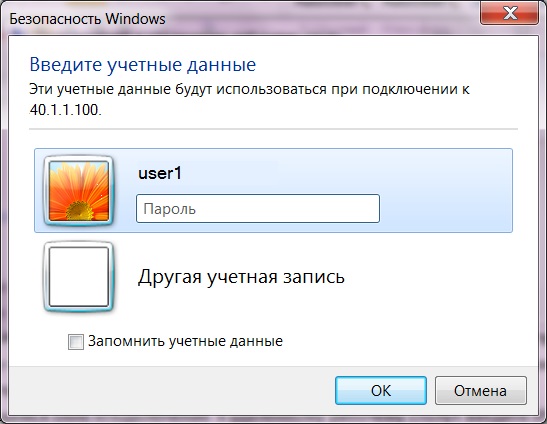
20. In the Windows Security window that appears, enter your username and password and click OK. If you have previously logged into a remote desktop, the system will prompt you for the username, see the figure.
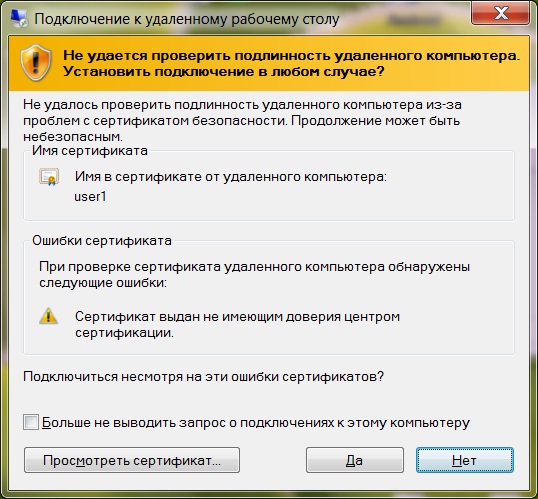
21. In the window that appears, the system will warn you that it cannot confirm the authenticity of the computer, see the figure. If you are sure that you are connecting to the right computer, you can check the box “Don’t prompt me for connections to this computer again” and click “Yes”.
22. After working with the remote computer, you can simply close the window. Then the session will be saved and, the next time you connect, you will see all the windows you opened in an unchanged state. If you need to close the session (usually this needs to be done on servers), then you need to log out of the system on the remote computer.
Related posts:
 How to clear the browser on Android
 How to connect an Xbox 360 or One gamepad to your computer
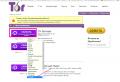 How to install Tor browser on your computer?
 MTS Unlimited - weaning off greed: paid wifi distribution - bypass
 Programs for watching TV over the Internet: the best applications for desktop and mobile systems


