Creating a virtual machine in VirtualBox
VirtualBox- convenient and functional program for creating virtual machines. With it you can install Linux on Windows or vice versa. If you want to try Linux, but are still afraid of doing something wrong, create virtual machine, in which to install Linux!
The 26 steps of this advice will tell you about creating a virtual machine in VirtualBox using Sabayon Linux as an example.
Step-by-step instruction:
For creating a virtual machine in VirtualBox you need to do the following:
- Let's select the distribution that we want to install in the virtual machine. I gave an example with Sabayon Linux. You can install any distribution into a virtual machine.
- Download the image of the system to be installed as a file with the .iso extension.
- Let's launch VirtualBox and see the main program window on the screen, in which we need to click on the "Create" button:
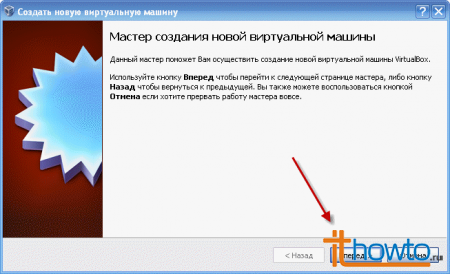
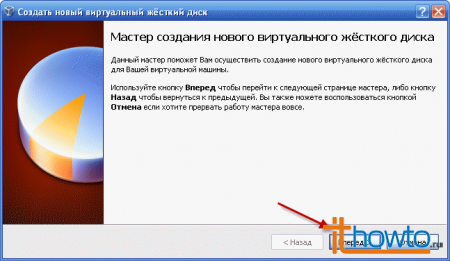
- The Virtual Machine Creation Wizard will launch. Click "Forward":
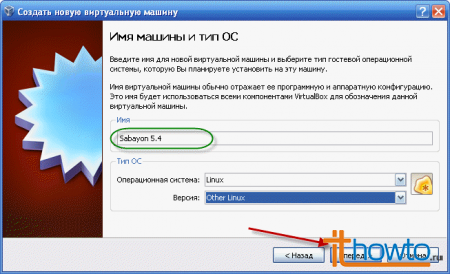
- Specify the name of the virtual machine (in my case it is Sabayon Linux 5.4), the type of operating system and click "Forward":
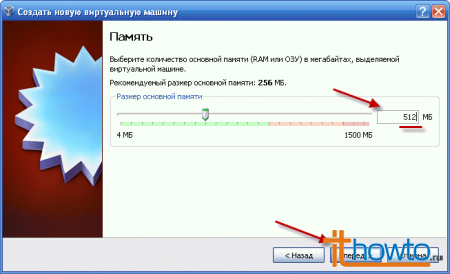
- Set the RAM size for the virtual machine. I recommend that you specify a value of at least 512 MB, since the requirements of all modern operating systems include this minimum value. (Attention! During the operation of the virtual machine, the physical RAM of your computer will be used. If the RAM installed in your computer is less than 1GB, the virtual machine will not work quickly). After specifying the value, click on the "Forward" button:
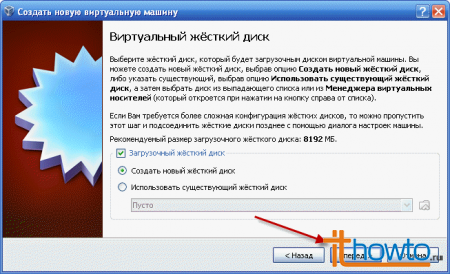
- At this point, you will create a virtual hard disk on which your virtual operating system will be installed. Leave the checkbox "Create a new hard drive" with the "Bootable hard drive" checkbox enabled and click "Forward":
- The Create a New Hard Disk Wizard will launch:
- Select "Fixed Size Image":

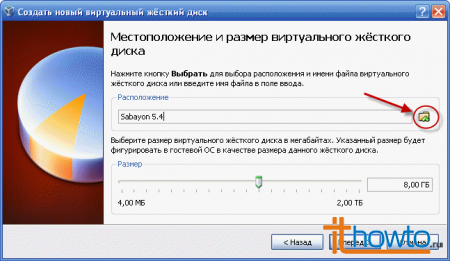
- By default, VirtualBox saves disk images in its working directory on drive C. Since drive C will be useful to us for other, more interesting concerns, let's save the virtual hard disk image to one of the other hard drives available on the computer. Click on the folder icon:
 Let's select the disk and directory where we will save our virtual hard disk:
 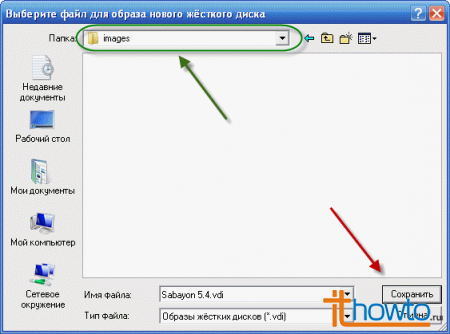 I saved it to drive H, but you can save it, for example, to drive D. Then we specify the size of the virtual hard disk to be created. I'm sure that 10 GB is enough:
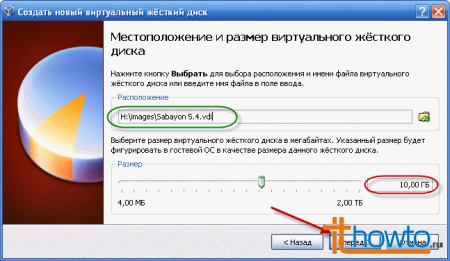
- We complete the creation of the virtual hard disk by clicking on the “Finish” button:
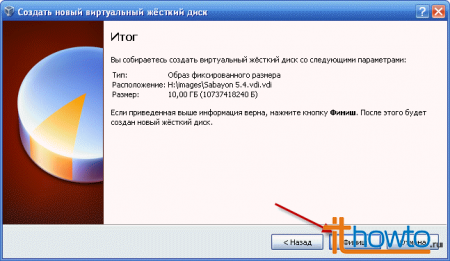
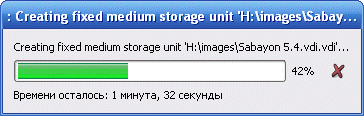
- The Create Virtual Hard Disk window will appear. you'll have to wait a couple of minutes:
- Complete the creation of the virtual machine by clicking on the "Finish" button:
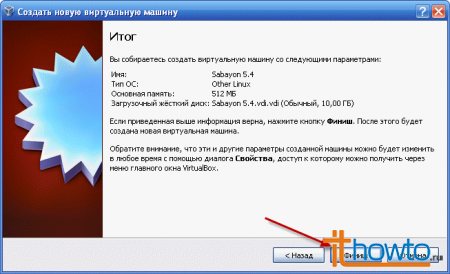
- Congratulations on successfully creating a virtual machine in VirtaulBox!
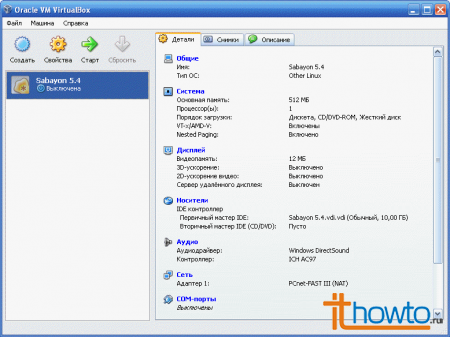
- Now let's configure it for further installation of the operating system (in my case Sabayon Linux 5.4). Select the virtual machine we created and click on the “Properties” button:
 The virtual machine properties window will open:
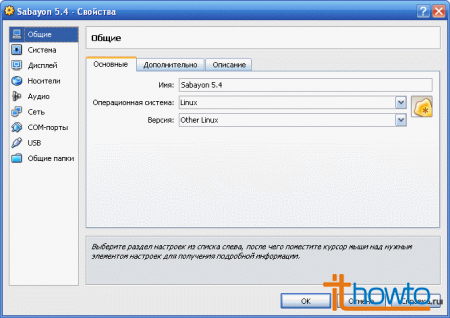
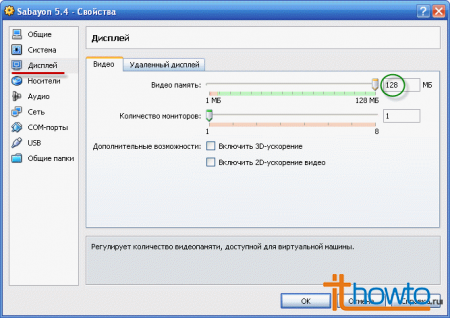
- Let's increase the video memory size:
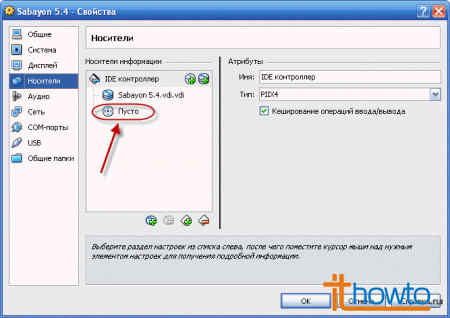
- By selecting "Media", we will see that, by default, the virtual DVD drive is empty:
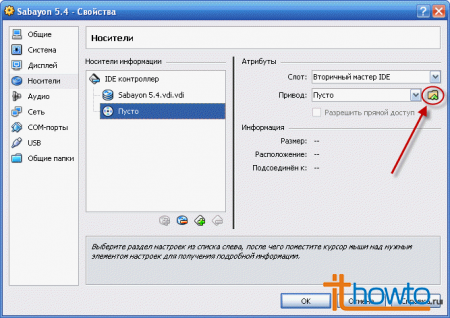
- Click on the folder:
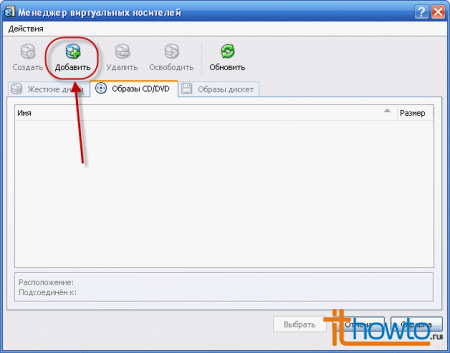
- In the Virtual Media Manager window that appears, click on the “Add” button:
 and select the image of the operating system that we downloaded and want to install in the virtual machine:
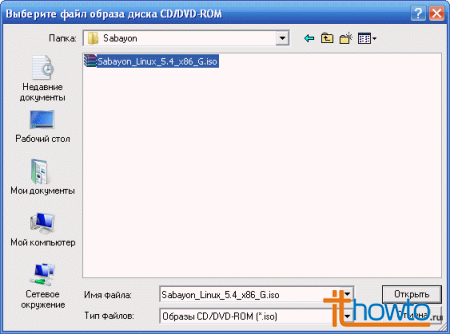
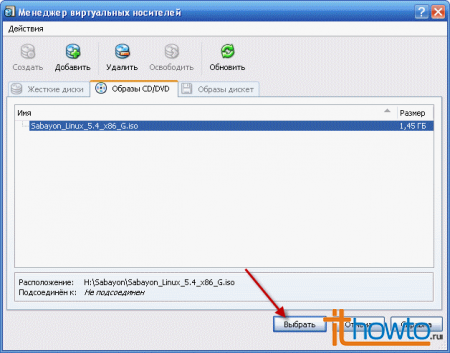
- The image we select will be added to the Virtual Disk Manager. All that remains is to select it for use in our virtual machine:
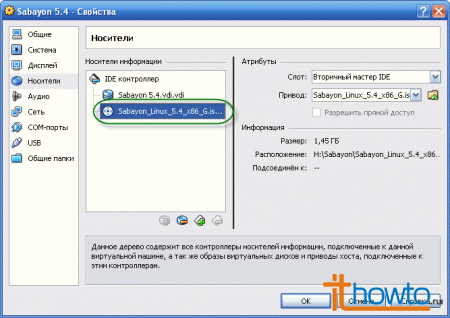
- As you can see, everything went well and the “disk” is available:
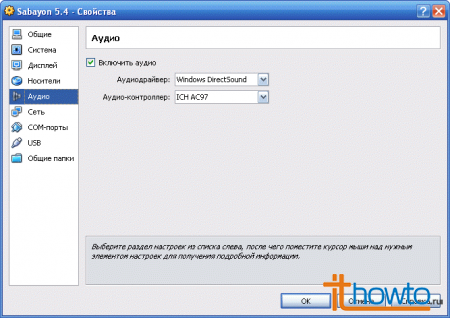
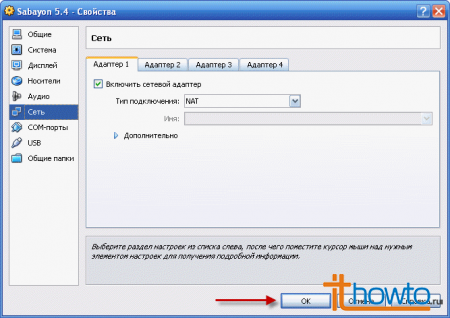
- Let's check the availability and marks on audio and network devices and click on "OK":
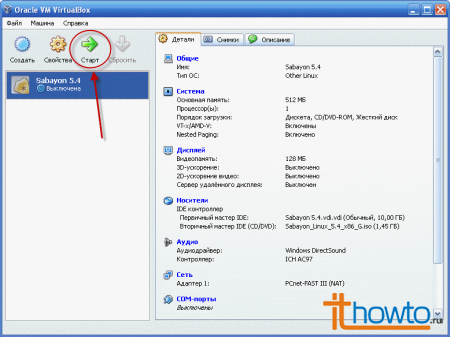
- Pay attention to the established boot order of the virtual machine. It is this that will allow us to start from the virtual DVD we connected:

- The virtual machine in VirtualBox is completely configured and you can start it:
- A window will appear for a few moments in which you can select the boot order from different devices:
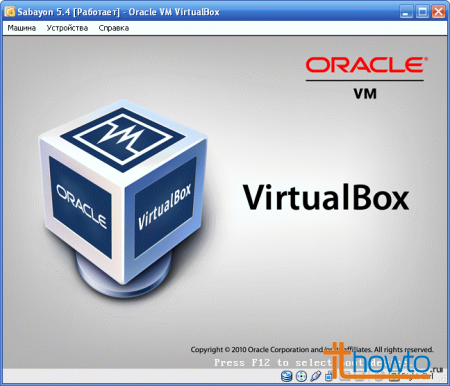
- As we can see, the virtual machine has launched successfully and you can begin installing the operating system of your choice:

Related posts:
 How to clear the browser on Android
 How to connect an Xbox 360 or One gamepad to your computer
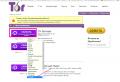 How to install Tor browser on your computer?
 MTS Unlimited - weaning off greed: paid wifi distribution - bypass
 Programs for watching TV over the Internet: the best applications for desktop and mobile systems


