Installation and basic setup of nginx and php-fpm for developing projects locally on Ubuntu 16.04
Hello, dear Habrahabr user. My story will be about how to prepare the ground for local web development projects in the Ubuntu 16.04.1 LTS operating system.
In this article, I would like to dispel and explain the possible difficulties associated with installing and configuring the software that is required for modern web development, which may be faced by novice developers and not only.
Technologies that will be used in the article: nginx, php-fpm.
Before starting the story, I want to note that I did all these actions on a “bare” system.
I will be working with the aptitude package manager. I also recommend updating the package index and the packages themselves before installing the software. In this article, we will do these steps together.
Go!
Installing the package manager aptitude, update index and packages
Install:sudo apt install aptitude
We update the index.
sudo aptitude update
Update packages (the command will update all packages for which there are new versions, if it is necessary to remove packages, then it will be performed).
sudo aptitude full-upgrade
Installation and setup nginx(version >= 1.10.0)
We install.sudo aptitude install nginx
We launch.
Sudo service nginx start
We check the version to make sure that we did not install the old one, that is, below 1.10.0.
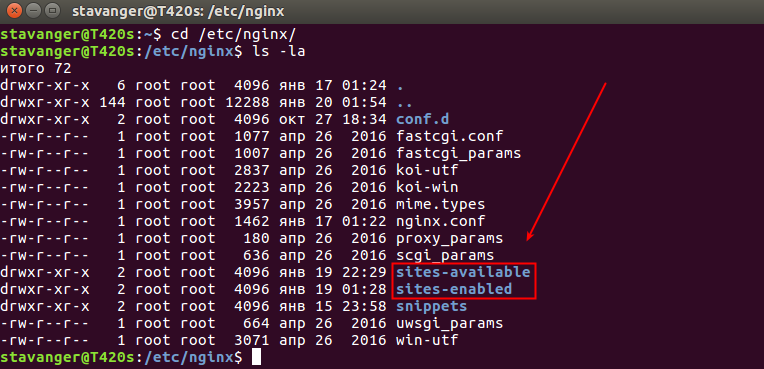
We have done the installation and launch, now let's go to the directory where our nginx is installed and look at its structure. The nginx directory is in this path:
cd /etc/nginx/
You can view the contents of the directory with the ls command, with the -la flags it will be more convenient to view the contents of the directory (in fact, this command with specific flags can be described in more detail and more accurately, but we have a different topic today).
Ls-la
We are currently interested in two directories that you see in the screenshot. These are the sites-available and sites-enabled directories.
Let's move into the sites-available directory and start configuring our virtual host (site).
cd /etc/nginx/sites-available
Before starting to create a configuration file, let's check what we have in this directory. In my case, the directory is not empty, it already contains configuration files, I erased them so as not to mislead you.
Important Digression
In the case of installing nginx "from scratch", it is "from scratch", since when removing nginx with the command
sudo apt-get remove nginx or sudo apt remove nginx configuration files remain, and if you suddenly don’t understand why nginx doesn’t work and want to reinstall it (usually novice Linux users resort to this), then after reinstallation it will not work correctly, due to the fact that the old configuration files (they are not removed after removal with the remove command) contain incorrect settings, they will have to be removed or configured correctly, only then nginx will work.
I recommend deleting with the command sudo apt-get purge nginx or sudo apt purge nginx . If you are using the aptitude package manager, then sudo aptitude purge nginx removes the entire package, including all dependencies and configuration files.
There will be one file in this directory by default, called default. It will contain a configuration file with an example, with comments, you can study it at your leisure, or you can delete it altogether (you can always refer to the official documentation).
Ls-la 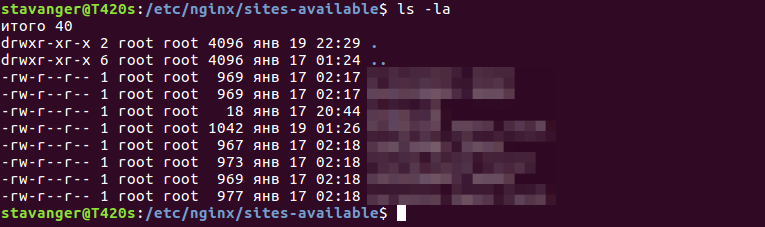
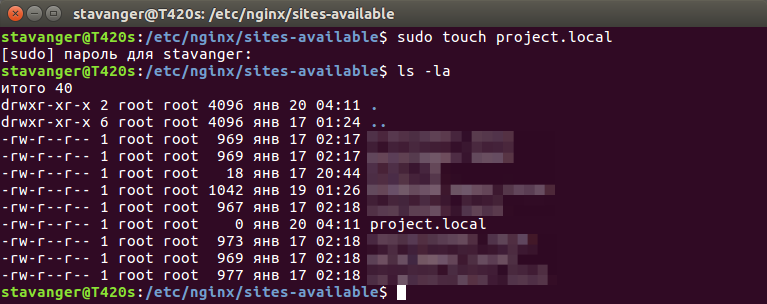
Let's create our own configuration file that will match the domain name of our local site (or the real one, if you already know its name). This is convenient, in the future, when there will be a lot of configuration files, this will save you from confusion in them. At me this file will be called project.local.
Sudo touch project.local
Let's see what happened.
Now let's open it in the editor, I'll open it in nano.
Sudo nano project.local
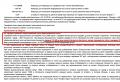
We see that it is empty. Now let's move on to the formation of our file. You need to bring the configuration to the form as written below. I will describe only the vital directives of this file, I will not describe the rest, since this is not important at the moment, after all, we have a basic configuration topic. These “hill” settings are enough for developing projects locally, not only small ones, but also quite large ones. In the following articles, I will describe separately each directive used (this is how the lines are called, for example, server_name) of this file.
See the comments right in the configuration file.
Server ( listen 80; # port listening on nginx server_name project.local; # domain name related to the current virtual host root /home/stavanger/code/project.local; # directory where the project is located, path to the entry point index index. php; # add_header Access-Control-Allow-Origin *; # serve static files directly location ~* \.(jpg|jpeg|gif|css|png|js|ico|html)$ ( access_log off; expires max; log_not_found off ; ) location / ( # add_header Access-Control-Allow-Origin *; try_files $uri $uri/ /index.php?$query_string; ) location ~* \.php$ ( try_files $uri = 404; fastcgi_split_path_info ^(.+ \.php)(/.+)$; fastcgi_pass unix:/var/run/php/php7.0-fpm.sock; # connect php-fpm socket fastcgi_index index.php; fastcgi_param SCRIPT_FILENAME $document_root$fastcgi_script_name; include fastcgi_params; ) location ~ /\.ht ( deny all; ) )
We save the file. Now we need to check if there are any errors in it. We can do this as a team.
Sudo nginx -t
If we see such information as in the screenshot, then everything is correct with us, we can continue setting up. If you get any errors, it's worth double-checking the config file.
Now we need to activate the configuration file, in the /etc/nginx/sites-enabled/ directory we need to create a symlink (symbolic link). If you have nginx installed "from scratch", then in this directory there is a symlink to the default file, which was described above, you can delete it if you do not need it. We pass to the necessary directory.
cd /etc/nginx/sites-enabled/
We are now in the correct directory. Let's create our symlink. To create, use the ln command with the -s flag, then we will specify the path to our project.local config.
sudo ln -s /etc/nginx/sites-available/project.local
Let's look at our created symlink.

To make sure that we are still doing everything right, we will run the command again.
File hosts
This file is located in /etc/hosts. The presence of entries in it allows you to run nginx using localhost as the domain. In this file, you can assign alternative aliases, for example, for our project project.local, we will assign the project.local domain.Open the file in the nano editor.
sudo nano /etc/hosts
You will have other information in this file, just ignore it. You just need to add a line like in my screenshot.
Installation php-fpm (>=7.0)
sudo aptitude install php-fpmWe check the installed version, just in case, although in Ubuntu 16.04.1 the 7.0 version is in the repositories.
php-fpm7.0 -v
We make sure everything is ok. Let's start php-fpm.
sudo service php7.0-fpm start
If you edit the configs, then do not forget to restart the daemon. It does so. But we won't need it.
sudo service php7.0-fpm restart
This completes the installation and configuration of php-fpm. True, that's all. This is not magic, the path to the php-fpm socket has already been specified in the configuration file. Of course, you may need some php extensions for developing personal projects, but you can supply them as they are required.
Now let's go to the directory with our project, I have it on this path.
Cd /home/stavanger/code/project.local
Let's go up to the directory above and set the permissions to 777 (that is, we will make full permissions to the directory with our project.local project). In the future, this will save us from unnecessary problems.
Cd .. sudo chmod -R 777 project.local
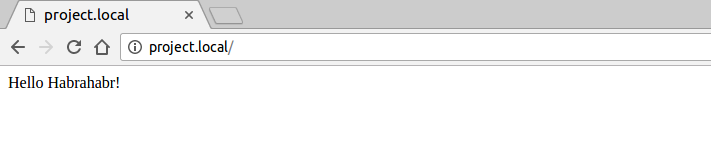
This completes the software setup, let's create a test file in our project.local working directory and make sure everything works. I will create an index.php file with this content.
We go to the browser and see that everything works fine for us! PHP interpreter included.
Yours faithfully to readers, Stavanger.
Related posts:
 How to clear the browser on android
 How to connect an Xbox 360 or One controller to a computer
 How to install Tor browser on a computer?
 MTS Unlimited - wean from greed: paid distribution of wifi - bypass
 Programs for watching TV over the Internet: the best applications for stationary and mobile systems


